DIY car detailing on a budget is not about buying the cheapest bottle on the shelf. It is about buying fewer, better products, using them in the right order, and never paying twice for the same mistake.
A pro ceramic coating is $1k+ and the shop keeps your car for days. A smart home routine gets you real protection, real water beading and a car you are proud of for a fraction of that, in a couple of hours in your own driveway.
Here is how to spend less, skip the gimmicks and still get professional results at home.
Where Does Detailing Money Actually Go to Waste?
Most budget detailers do not overspend on one big purchase. They bleed money on a shelf full of single-use bottles that overlap, contradict each other and get used twice.
- Duplicate products. A wash-and-wax, a spray wax, a quick detailer and a sealant often do the same job. You only need one protection step.
- Cheap towels. Thin towels scratch paint, and paint correction is the most expensive fix in detailing. Most swirl marks are put there by a towel.
- Short-lived dressings. Greasy tire shine and trim products that rinse off in the next rain mean you buy them again and again.
- Redoing work. Water spots, streaks and swirls all send you back to the start. Doing it right once is the cheapest way to detail.
The fix is a short list of products where every bottle has a clear job, plus a towel built for each job.
What Do You Really Need to Detail a Car at Home?
Strip it back and a complete home detail needs five things: a soap, a way to dry, a restorer for plastic and tires, a paint protection layer and the right towels. That is it.
Here is the budget kit, mapped to the steps you will actually do:
- Wash: a pH-neutral ceramic soap and a bucket with a grit guard. If you clean the inside too, an interior cleaner.
- Dry: one large drying towel for panels and one small one for glass, mirrors and jambs.
- Restore: one product for faded plastic, trim, rubber, tires and wheels.
- Protect: one spray-on ceramic for paint, glass and chrome.
- Finish: a dedicated buffing towel so the protection goes on clear, not streaked.
No clay kits, no polishing machine and no shelf of dressings to get started. Those are upgrades for later, if you ever need them. If you are brand new to all of this, our car detailing guide for beginners covers the basics in more depth.
The Budget DIY Detailing Routine, Step by Step
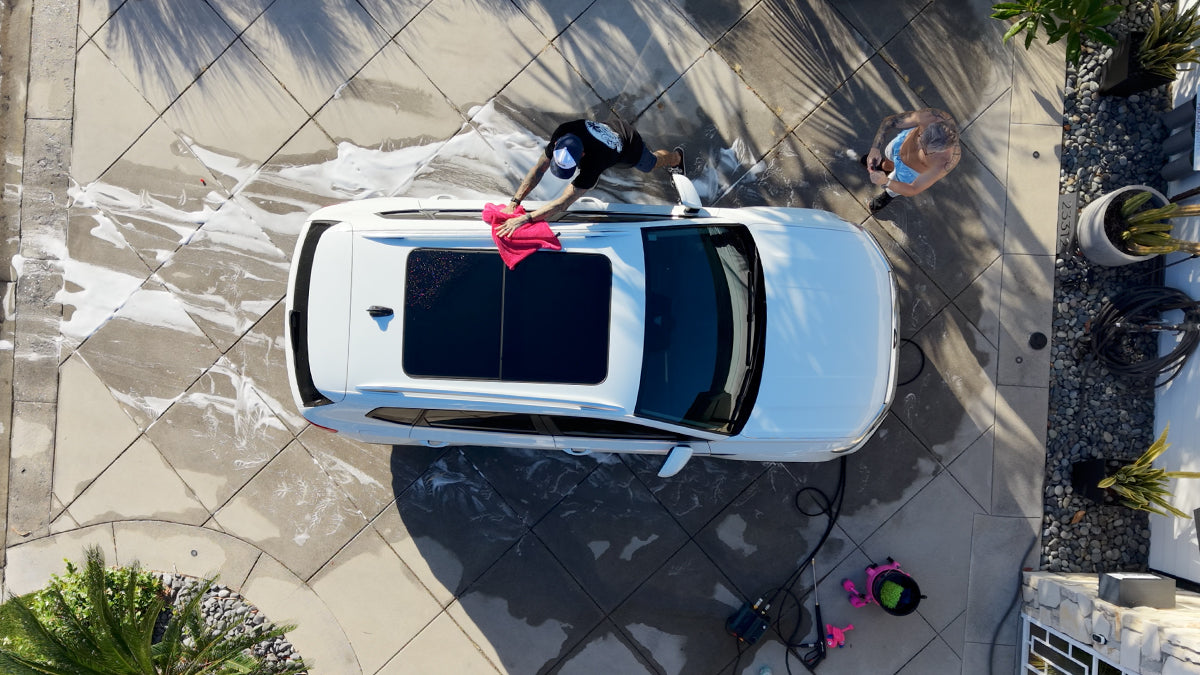
Work in the shade on a cool surface. Hot panels flash products before you can spread them, which wastes product and leaves streaks.
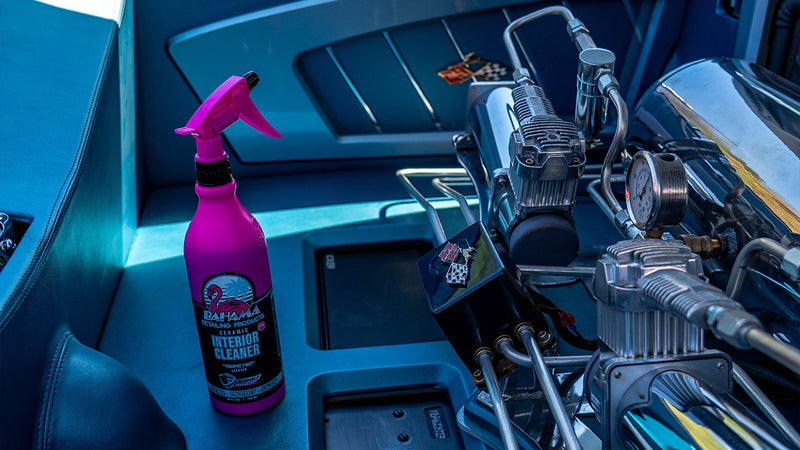
- Wash. Rinse the loose dirt off first. Then wash top to bottom with Ceramic Mega Foaming Soap, either through a foam cannon or from a Grit Guard Bucket that keeps grit at the bottom and off your mitt. It lifts road film, mud and bug guts and leaves a beading ceramic layer with SunShield UV behind. It is pH neutral, so it is safe on any coating. Inside, wipe the dash, doors, screens and seats with Ceramic Interior Cleaner and a Starting Line towel, which stays inside the car for good.
- Dry. Rinse, then dry right away with a Big Bird on the roof, hood and doors. Lay it flat and pull or blot rather than scrubbing. Switch to a Lil' Bird for glass, mirrors and door jambs. Water spots are made in the drying, not in the wash.
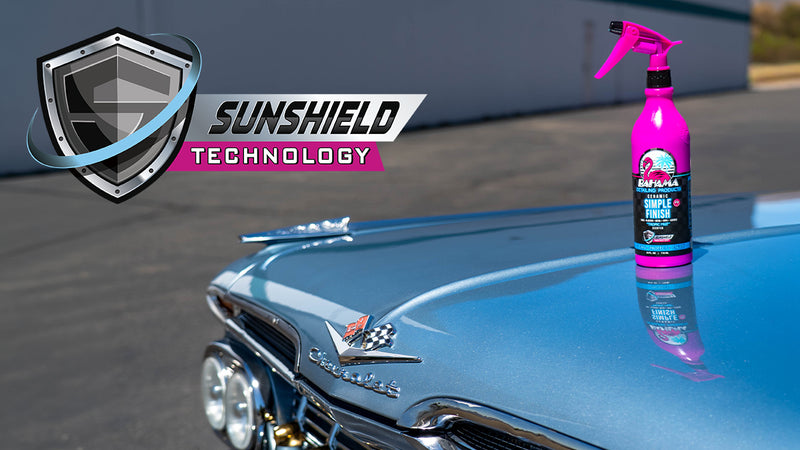
- Restore. Spray Ceramic Simple Finish on faded plastic, trim, rubber, tires and wheels and wipe it in with a Finish Line towel. Do the tire and rim together. Gloss rims get a quick buff after. Keep it off gloss paint, glass and chrome.
- Protect. Spray Ceramic Final Touch Detail Spray on paint, glass and chrome one panel at a time. Wipe it smooth into a consistent layer and let it dry about 5 minutes.
- Finish. Buff each panel with a dry Victory Lap. It lifts the residue while the coating stays on the paint. Never buff with your drying towels: a 1600 GSM pile drinks the coating right off the panel. Then keep the car dry for about 24 hours so it cures.
A full coat takes about an hour from wash to finish and lasts 3 to 6 months. Between full coats, the soap tops up the layer every time you wash.

The most ceramic of the four. Spray it on, wipe it smooth into a consistent layer, let it dry for 5 minutes, then buff. What is left is a streak-free, water-spot-free, ultra hydrophobic ceramic layer with UV protection.
Why Cheap Towels Cost You More
If you only splurge on one thing, make it towels. The liquid does half the work. The towel decides whether it comes off streaked or slick.
A bargain towel that leaves fine scratches turns a free wash into a paid paint correction. A towel that has been through brake dust and tire dressing has no business on your dash, and it definitely has no business on your hood.
The budget rule is simple: one towel per job, zero cross-contamination. Drying towels dry. The wheel and trim towel does the dirty work. The interior towel stays inside. The buffing towel only touches Final Touch. Wash them separately from household laundry and they last a long time, which is where the savings really show up.
The Premium Towel Set covers every step with 12 towels across 4 types, so you are not buying them one emergency at a time.

Wheels, tires and trim. Dual-sided: a short nap to lift grime and a plush side to wipe it clean, so your finishing towels never do the dirty work.
How to Stretch Your Detailing Budget Further
Habits that make every bottle last
Good technique saves more money than coupons do. A few habits make every bottle last longer:
- Use light mists. Spray products work best as a thin, even layer. Soaking a panel wastes product and makes buffing harder.
- Spray the panel, not the air. Work in shade with no wind, one panel at a time.
- Let the soap maintain the protection. Ceramic Mega Foaming Soap layers and builds with every application, so you can go longer between full Final Touch coats.
- Wash before it gets bad. A regular light wash takes less product and less time than one big rescue job. Our guide on how often you should detail your car lays out a realistic schedule.
- Restore once, then maintain. Faded trim brought back with Simple Finish just needs a quick refresh on wash day, not a full rescue every month.
Where to save, and where not to
Save on gear that does not touch the paint. A basic hose nozzle, a simple wheel brush and a plain bucket insert are fine. You do not need a pressure washer to get great results.
Do not save on anything that touches the paint or stays on it. That means soap, towels and protection. Harsh dish soap strips protection and dries out trim. Rough towels scratch. Cheap sprays made of mostly water and silicone look fine for a day and then you are back to bare paint.
Also skip the habit of buying a new bottle for every surface. Four bottles that each cover a whole category of the car beat a dozen single-purpose ones, both on price and on shelf space. For a deeper walk through each stage at home, see how to detail your car at home.
Frequently Asked Questions
What is the cheapest way to detail a car at home?
Buy a small kit of products that each do one clear job: soap, a restorer, a spray-on ceramic and the right towels. Doing the routine properly once costs less than fixing scratches, water spots and faded trim later.
Can DIY detailing really match a professional result?
For washing, restoring trim and adding ceramic protection, yes. A pro ceramic coating is $1k+ and takes days at the shop, while Final Touch gives you an ultra hydrophobic layer in about an hour that lasts 3 to 6 months.
Do I need a pressure washer or foam cannon?
No. A foam cannon is nice to have, but a hose and a bucket with a grit guard work well. Spend the money on towels instead.
Can I use one microfiber towel for everything?
You can, but you will pay for it in swirls and streaks. Keep separate towels for drying, wheels and trim, interior and buffing so grime never travels to your paint.
Detail Smarter, Not More Expensively
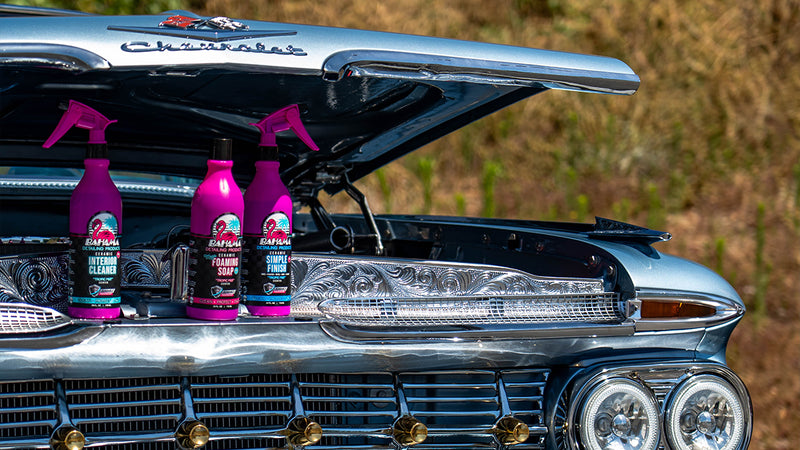
Professional results at home come from a short list of good products and a routine you actually follow. Wash. Restore. Protect. If you want the whole routine in one box, the Full System Set is the last 4 detailing products you will ever need.

Wash, interior, restore and protect: all four Bahama ceramic bottles in one set. A pro ceramic coating is $1k+. This system only takes a couple hours.

Drying, interior, wheels and trim, and buffing the Final Touch coating, each with its own towel. No wheel grime on the dash, no drying towel soaking up your coating.