Oxidized paint on a classic car looks chalky, flat, and dull, like the color has been washed out and left to dry. On newer cars with thick clear coats, moderate oxidation can often be polished out. On classics with thinner, more delicate finishes, you need a lighter touch and products formulated to restore shine without removing paint. This guide walks through removing oxidation safely from vintage finishes.
Understanding Paint Oxidation
Paint oxidation happens when UV light and atmospheric oxygen cause the polymer chains in the paint (especially in clear coat or single-stage finishes) to break down and form surface oxidation, a layer of chalky, oxidized material. This oxidation sits on top of the paint and scatters light instead of reflecting it, causing the color to look dull and flat.
Oxidation is a chemistry problem, not a physical damage problem, which means it can be reversed with the right product and technique. Heavy machine polishing isn't always the answer, especially on vintage paint.
Step 1: Assess the Oxidation Severity
Light oxidation: color is dull but you can still see a reflection in the finish. Test correction on a hidden panel first (bottom of the door jamb, inside the fuel door).
Moderate oxidation: the color looks chalky, and reflection is heavily reduced. Single-stage lacquer with moderate oxidation needs light polishing only, a machine buffer on 1500 RPM with a soft pad or hand application with a finishing polish.
Heavy oxidation: crazing (fine surface cracks in clear coat) or chalky, almost white appearance. At this level, professional wet sanding and refinishing is often the answer, do-it-yourself polishing risks burning through the finish.

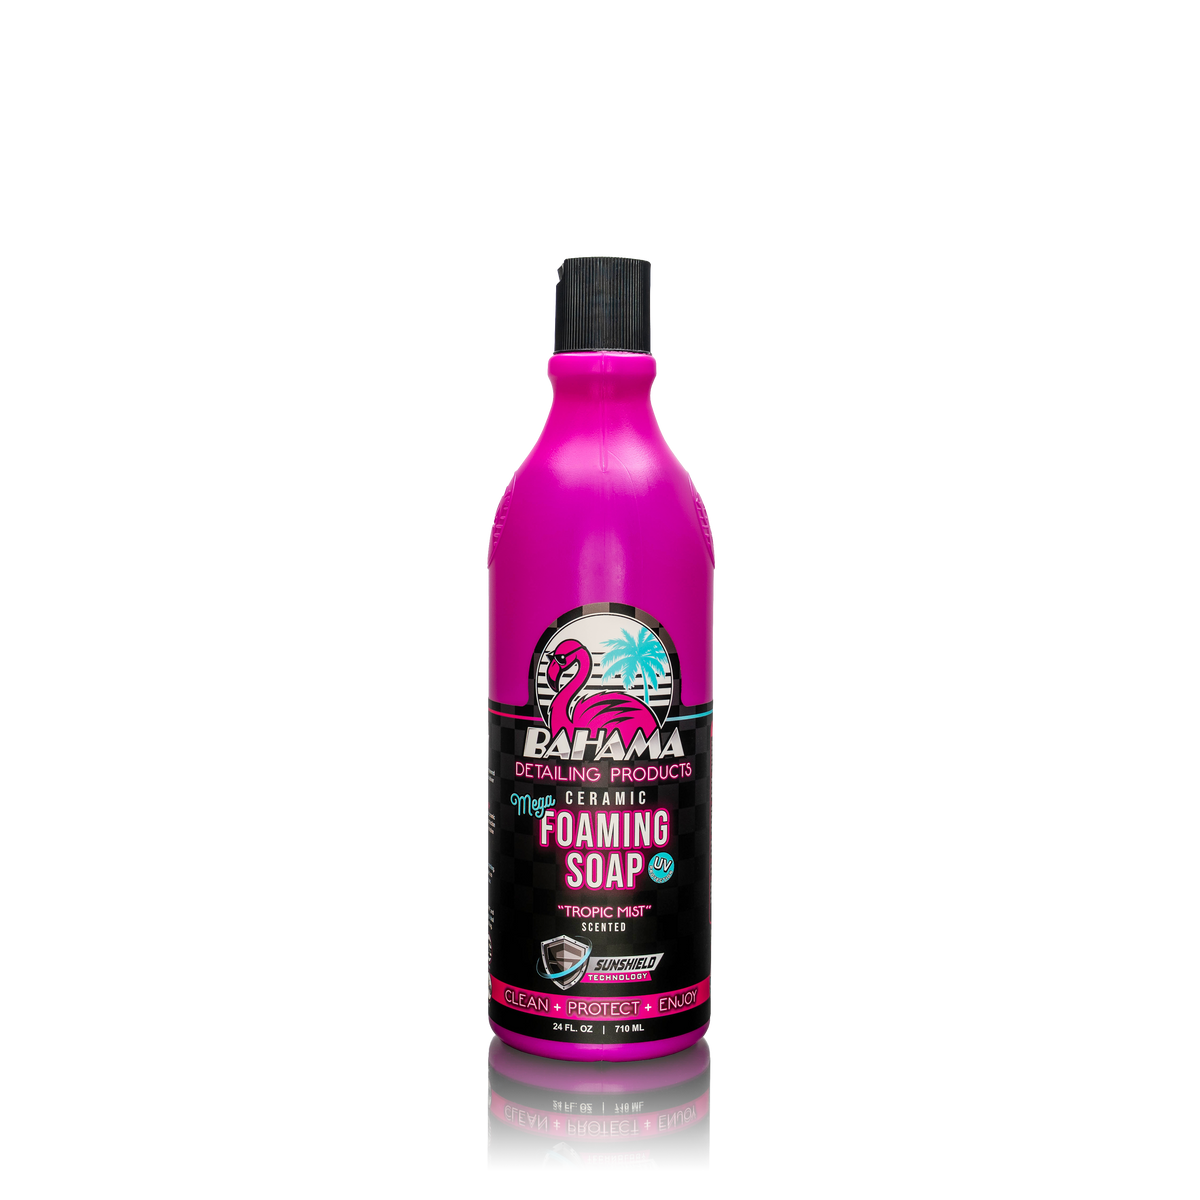
Mega Ceramic Foaming Soap
Helps lift surface oxidation haze before polishing, gentle ceramic foam that prepares oxidized paint for the next step.
Hand Polishing for Light Oxidation
For light oxidation on single-stage finishes, hand polishing with Bahama Chrome & Metal Polish (works on paint too for light oxidation) or a specialized finishing polish is often sufficient. Apply a small amount to a foam applicator pad, work it into the paint in straight overlapping strokes with light-to-moderate pressure, then buff off with a clean microfiber.
This method gives you complete control and zero risk of burning through thin lacquer.
Machine Polishing for Moderate Oxidation
A dual-action (DA) orbital polisher on its lowest speed (1200-1500 RPM) with a soft foam pad and a light polishing compound or finishing polish is safe for most single-stage finishes. Work in overlapping 2x2 foot sections, letting the machine do the work, never apply heavy pressure. The lighter the pressure, the more control you have.
Rotary buffers: avoid these on single-stage lacquer unless you have professional experience. The constant RPM and torque make it easy to burn through thin finishes.
Step 2: Clean Immediately After Polishing
Polish residue hardens as it dries and becomes difficult to remove. Buff off the polish while it's still slightly damp with a fresh microfiber towel. Use multiple towels if needed, the goal is a clean finish with zero residue.

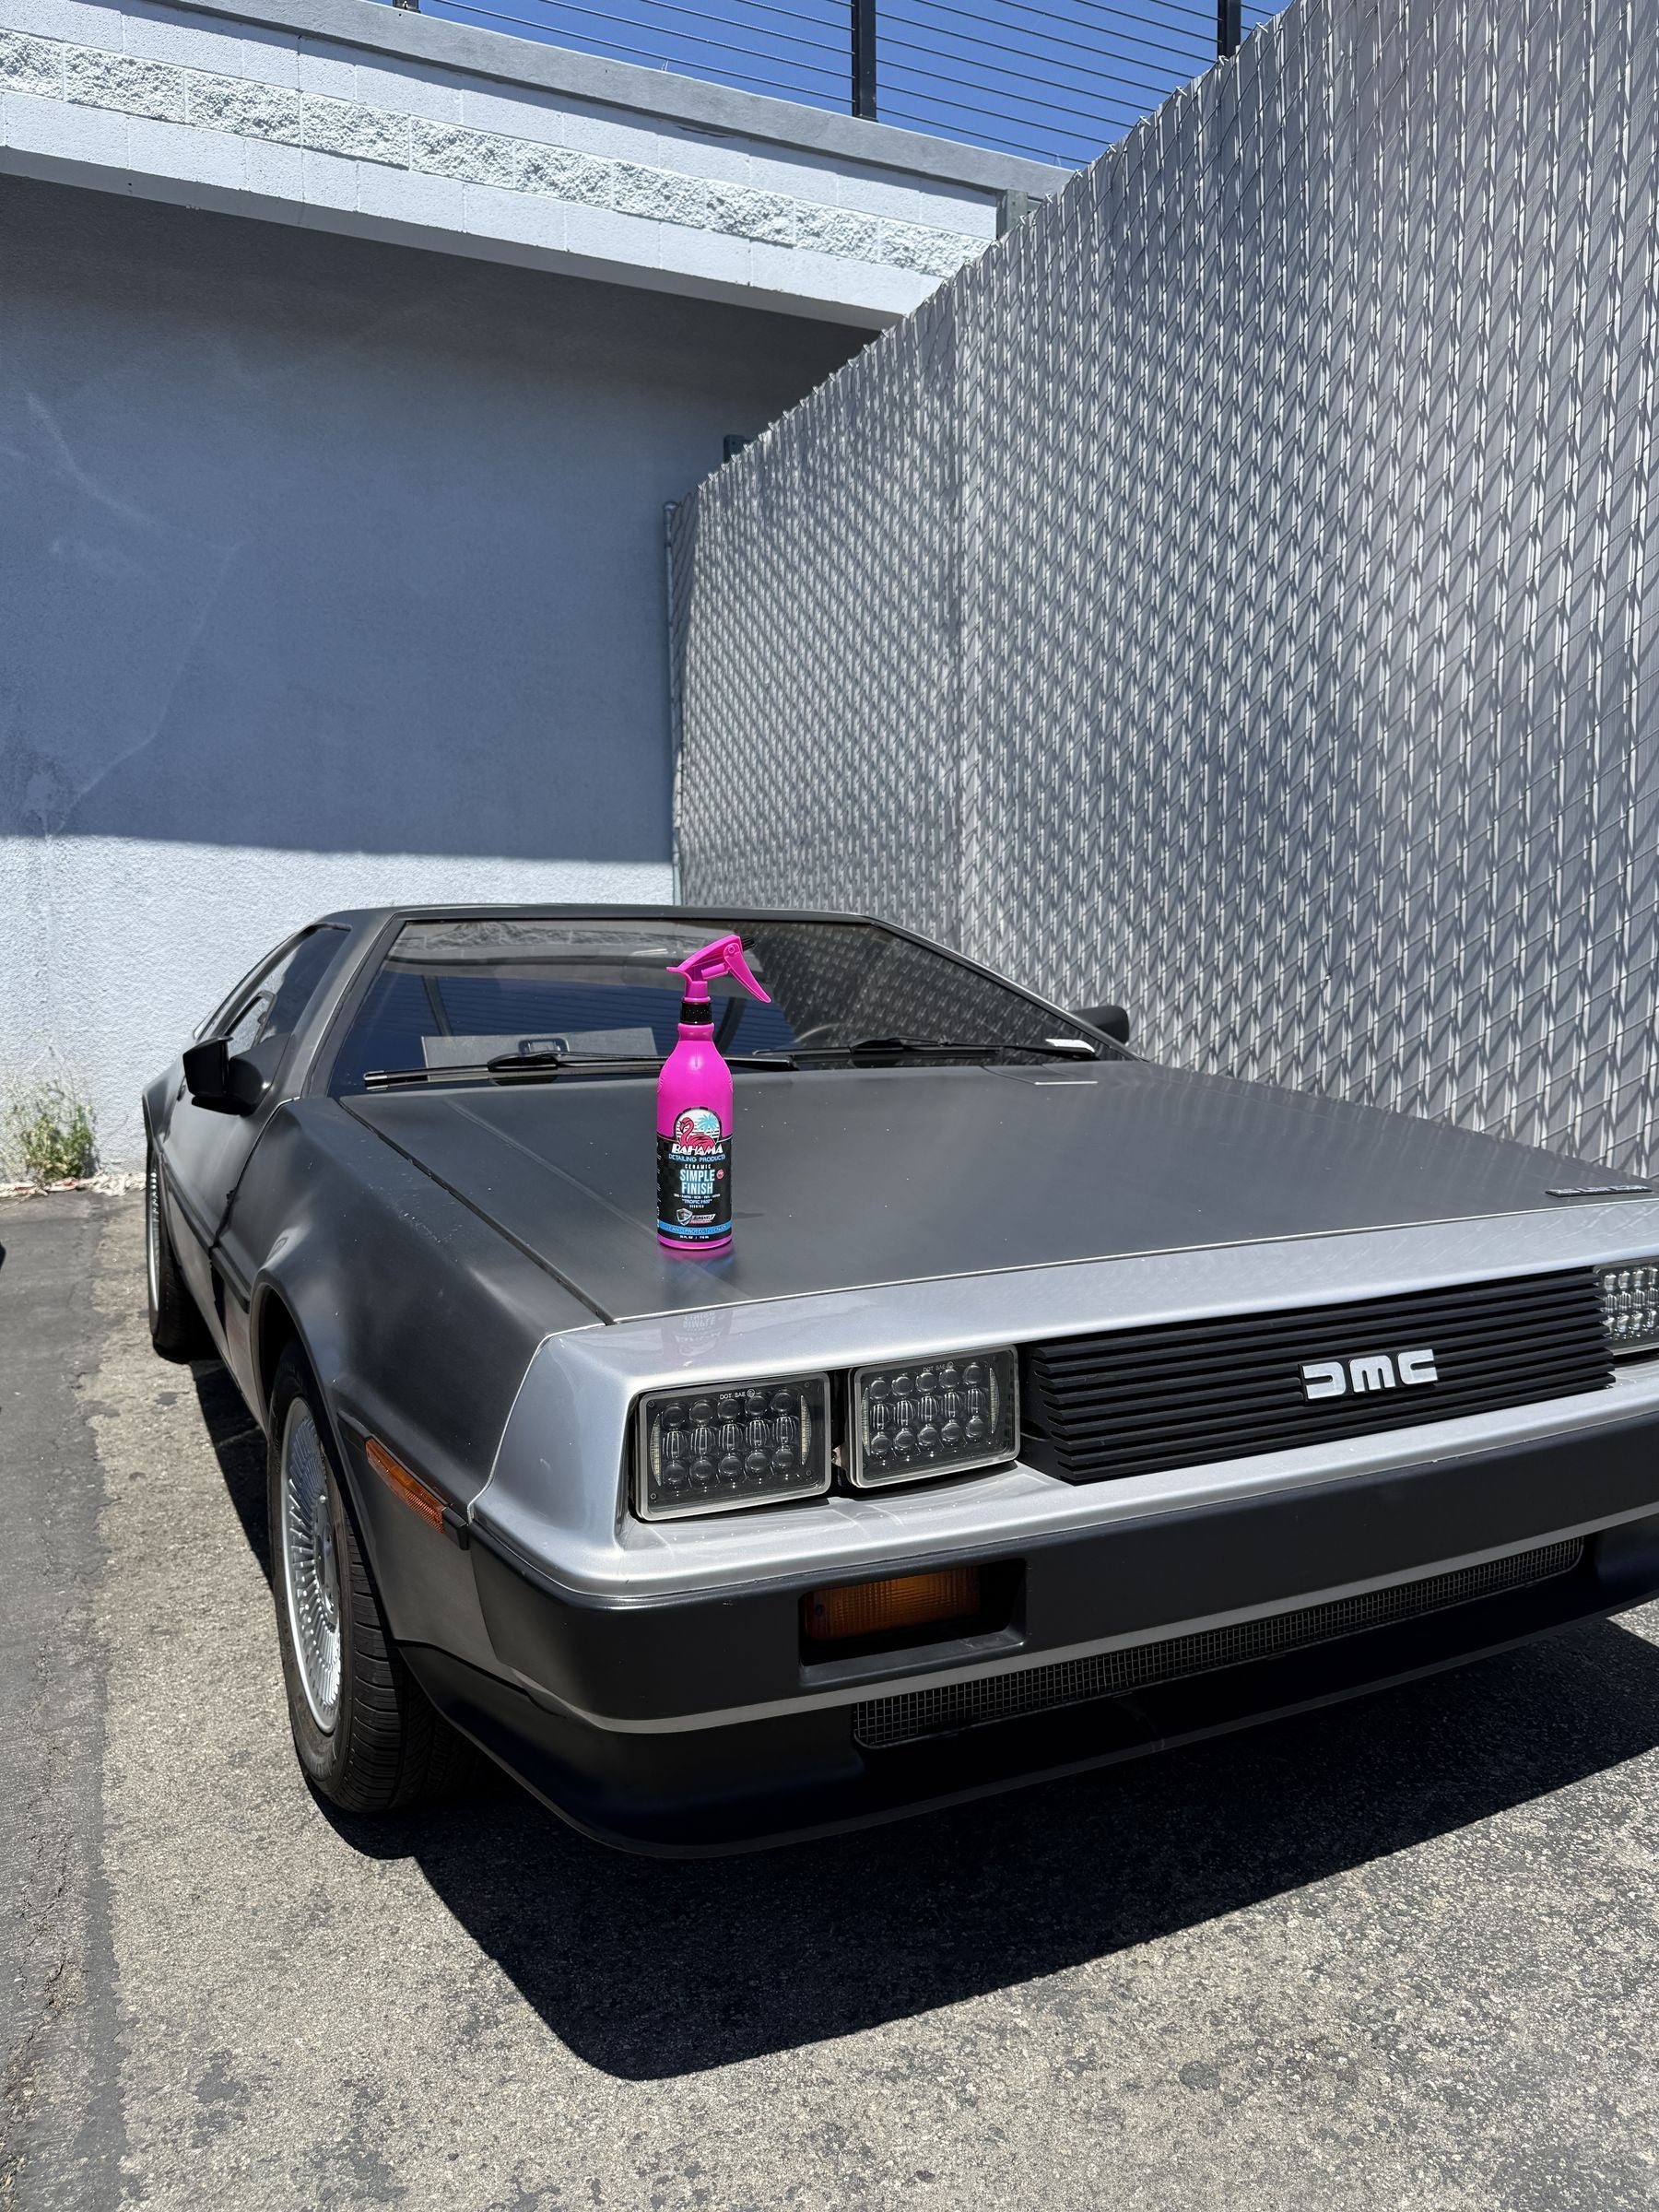
Ceramic Simple Finish
After oxidation removal, seal your freshly restored paint with a ceramic protectant that prevents future oxidation and UV damage.
Step 3: Seal the Polished Paint
Polishing removes the top layer of oxidized paint, exposing fresh paint beneath, which is unprotected. Immediately seal with Bahama Graphene Wash & Coat applied as a spray-on sealant (not a wash), or Bahama Detail Spray as a quick graphene protector. This re-establishes your UV and oxidation protection layer.
Bahama's SunShield UV Technology provides full-spectrum UV blocking, UVA, UVB, and UVC, for 2–3 weeks per application. Reapply after every wash or every 3–5 weeks depending on sun exposure and storage situation.
Frequently Asked Questions
Will polishing remove all the color?
No. Polishing removes the oxidation layer (microns thick), not the paint itself (millimeters thick). You can safely polish lacquer multiple times over its lifetime without running out of paint to remove.
Can I use compound on single-stage paint?
Compound is a cutting abrasive, intended for heavy correction. It removes more material per pass than finishing polish. Use compound only if oxidation is heavy and you've tested on a hidden panel. For light-to-moderate oxidation, finishing polish is safer.
How often can I polish a classic car?
Depending on severity and paint thickness, you can safely machine-polish a single-stage finish 5-10 times over its lifetime. Hand polishing is gentler and can be done more frequently if needed.
Final Result
Properly polished and sealed vintage paint looks wet, deep, and reflective, the way it did when the car left the factory. Oxidation that looked permanent is actually reversible with the right approach. Bahama Detailing Products are engineered for this exact job, safe for delicate finishes and effective at restoring shine to dull, oxidized classics. Polish, seal, protect, done.