Dirt bike plastics and graphics take a beating. Roost, branches, crashes and the pressure washer all go after them, and the sun works on them every minute the bike sits outside.
To protect dirt bike plastics and graphics from UV, fading and cracking, wash gently, dry properly, and put a UV-blocking layer on every plastic and vinyl surface after every wash. Add a little edge care and your plastics and kit will look right for a lot longer.
Why Do Dirt Bike Plastics and Graphics Fade and Crack?
UV Exposure
Bike plastic is unpainted, so there is no clear coat taking the sun first. UV breaks down the polymers, which is why white plastic yellows, colored plastic goes chalky, and printed graphics bleach out.
That same breakdown makes plastic brittle. Brittle plastic cracks at mounting holes and bends instead of flexing on impact.
Edge Lifting on Graphics
Graphics usually fail at the corners and seams first. A pressure washer jet, a crash or the plastic flexing breaks the adhesive bond. Once an edge lifts, dirt gets underneath and the lift spreads fast.
Impacts and Scratches
Rocks and branches tear graphics and gouge plastic. You can't prevent all of it, but a graphic with sealed edges and healthy plastic underneath survives minor hits much better.
How to Wash Plastics and Graphics Without Lifting Edges
The wash is where most graphics get ruined. Get this part right and the rest is easy.
- Soak first. Wet the mud and let it soften before you blast anything.
- Stay back. Hold the pressure washer well away from graphic edges, use a wide fan, and angle the spray so it flows away from edges rather than into them.
- Foam it. Ceramic Mega Foaming Soap lifts mud and road film so you can wash with a soft mitt instead of scrubbing. It is pH neutral and gentle on plastic and vinyl.
- Use a Grit Guard Bucket so the grit you rinse off the mitt stays at the bottom of the bucket instead of going back onto the shrouds.
- Press edges down after washing while the plastic is still warm and clean.
For the full wash, see our guide to the best dirt bike wash.

Thick cannon foam that lifts road film, mud and bug guts, then leaves a beading ceramic layer behind. pH-neutral, so it is safe on any coating.
The Dirt Bike UV Protection Routine
Run this after every wash. It takes a few minutes and does more for your plastics than anything else. Every bottle has a towel built for it, so use the right one at each step.
- Wash. Foam with Mega Foaming Soap as above. It leaves a beading ceramic layer with SunShield UV behind, so even the wash adds protection.
- Dry. A Lil' Bird is the right size for a bike: shrouds, number plates, fenders and the tank. Blot rather than drag. Water spots are made in the drying, not in the wash.
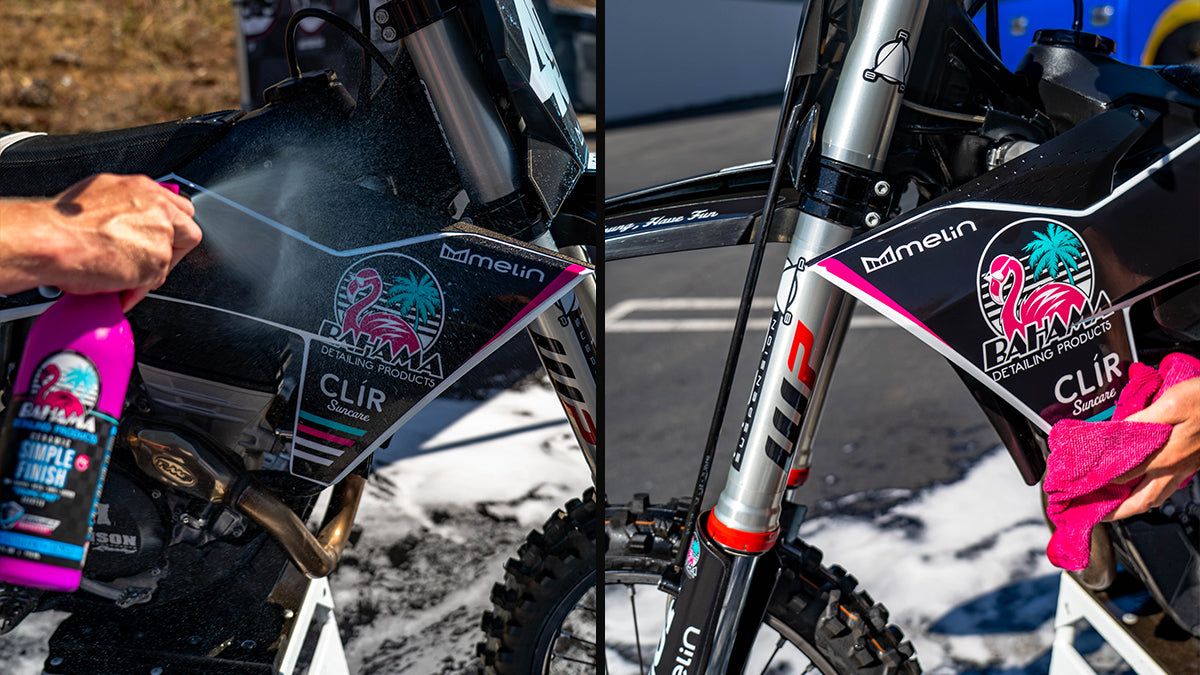
- Restore. Spray Ceramic Simple Finish on the plastics, graphics, seat, grips, tires and wheels, then wipe with a Finish Line towel. Faded plastic comes back, and the whole bike gets SunShield UV in the same pass. Spray, wipe, walk away.
- Protect. If your bike has a painted frame, a painted tank or any chrome, spray Ceramic Final Touch on those parts, wipe it smooth and let it dry 5 minutes.
- Finish. Buff the Final Touch off with a dry Victory Lap. Never buff it with the Lil' Bird. Keep it dry for about 24 hours so it cures.
Simple Finish is the hero here. Graphene + SiO₂ = hydrophobics, so mud and water have less grip on the next ride, and the layer builds with every application. On a bike that lives outside, that adds up fast.
Keep Finish Line for this job only. One towel per job. Zero cross-contamination. If your plastics are already faded, read how to restore faded plastic first.

Faded plastic, trim, rubber and tires back to like-new, then protected. Just as good on matte, satin, PPF and vinyl wrap.

Glass, mirrors, door jambs and every spot the big towel is too much for. Same 1600 GSM pile, seamless edge.
How to Fix Lifting Graphics Before They Get Worse
Check every edge after every ride. It takes seconds, and catching a lift early is the difference between a repair and a new kit.
- Clean under the edge. Make sure no dirt or dressing is trapped under the lifted corner.
- Warm it gently. A heat gun on low, kept moving and held back, softens the adhesive. If the plastic is too hot to touch comfortably, you are too close.
- Press it down firmly with a clean thumb or a soft squeegee and hold it.
- Glue stubborn edges. If heat won't hold it, a small amount of plastic-safe adhesive under the edge usually does.
Let a repaired edge settle before you aim a hose at it again.
When Should You Replace Plastics or Graphics?
- The color has faded badly enough to bother you after a full restore.
- Edges keep lifting even after repair.
- Tears and punctures leave edges that catch dirt.
- The plastic itself is cracked or brittle.
Installing New Graphics
Graphics stick best to new plastic, so replace both together when you can. Clean the panel thoroughly and wipe it with isopropyl alcohol, apply in a warm (not hot) space, and squeegee out every bubble. Follow the kit maker's guidance on cure time before the first wash, then start the protection routine above.
Riding hard and often? See enduro and trail bike maintenance detailing.
The Bottom Line
Plastics and graphics last when you wash gently, dry properly and add a UV layer every time. Wash. Restore. Protect. The Premium Towel Set puts the right towel in your hand at every step: one towel per job, 12 towels, 4 types, $139.
Frequently Asked Questions
Can I use Ceramic Simple Finish on dirt bike graphics?
Yes. Simple Finish is made for plastic and vinyl, so it covers plastics and graphics in the same pass with SunShield UV protection.
Why are my dirt bike plastics turning white or chalky?
That is UV breaking down the surface of the plastic. Ceramic Simple Finish brings faded plastic back, and using it after every wash keeps it from returning.
Will a pressure washer ruin my graphics?
Not if you stay back and use a wide fan. The damage happens when a close jet hits an edge or seam head-on.
Is a heat gun safe on dirt bike plastic?
Yes, on low with the gun kept moving. You only want the plastic warm, never hot.

Wash, interior, restore and protect: all four Bahama ceramic bottles in one set. A pro ceramic coating is $1k+. This system only takes a couple hours.

Drying, interior, wheels and trim, and buffing the Final Touch coating, each with its own towel. No wheel grime on the dash, no drying towel soaking up your coating.