
Dirt bike care is different from vehicle care in every meaningful way. The surfaces are smaller, the geometry is complex, and the exposure to mud, dust, and impact is more concentrated per square inch than almost any other machine. Getting a dirt bike truly clean, not just visually clean, requires understanding what needs attention and what approach works on each component. Here's the complete post-ride dirt bike cleaning process.
Timing: When to Wash
Wash before mud fully dries. Wet mud releases from plastic, aluminum, and chrome components easily. Dried mud, especially clay-heavy soil, requires prolonged soaking and mechanical agitation that risks scratching plastic graphics and clear-coated components. If you can't wash the same day, at minimum rinse with water to prevent mud from hardening.

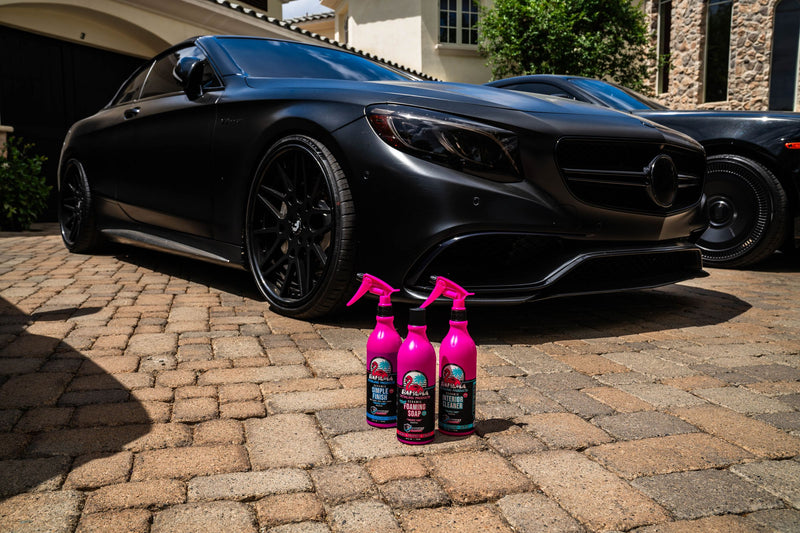
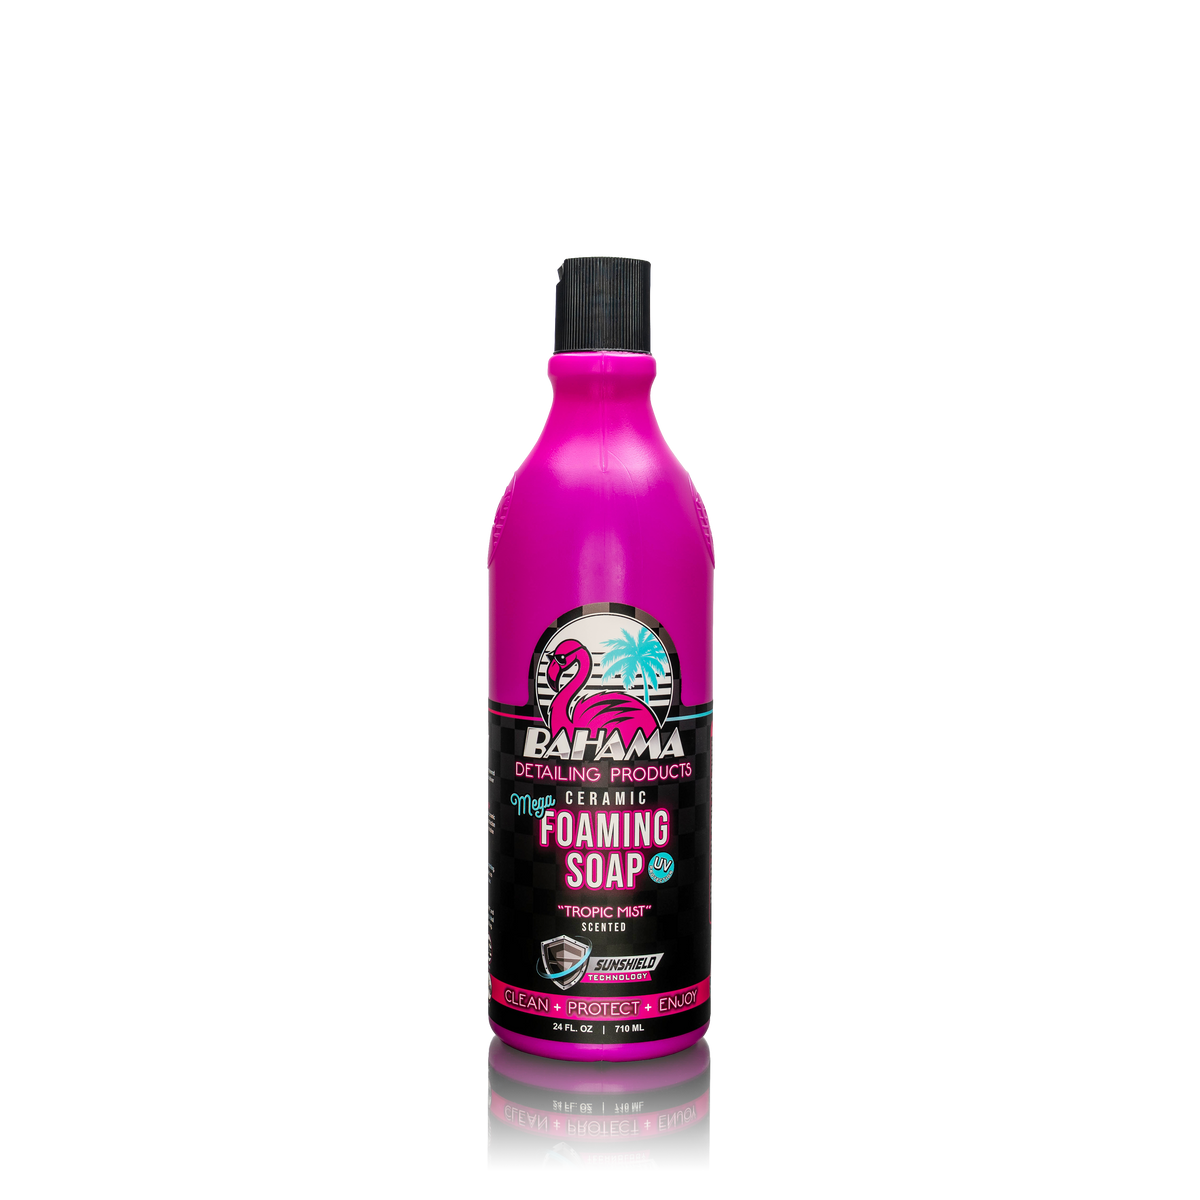
Mega Ceramic Foaming Soap
Purpose-built for off-road grime, strips mud, chain oil, and trail dirt from plastics and metal without dulling graphics or drying out rubber.
What You're Working With: Dirt Bike Surfaces
- Plastic body panels: Polypropylene. Softer than automotive plastic, scratches easily.
- Aluminum frame and components: Oxidizes in mud and moisture environments. Requires protection.
- Chrome exhaust: Accumulates heat oxidation in addition to mud. Special treatment needed.
- Aluminum wheels: Accumulate brake dust and mud. Require brush cleaning in spoke areas.
- Graphics: Adhesive vinyl applied over plastic. Vulnerable to high-pressure washing at seam edges.
- Engine cases: Aluminum with accumulated oil residue and mud. Require degreaser, not just water.
The Wash Process
Step 1: Pre-Rinse
Rinse the bike from top to bottom with moderate water pressure. Keep the nozzle 30+ cm from graphics seam edges to prevent lifting. Clear main mud deposits before any soap contact. For thick mud in wheel spokes and frame areas, a direct rinse loosens the bulk before scrubbing.
Step 2: Pre-Treat Engine Case and Heavily Greased Areas
Apply a degreaser to the engine case, swing arm pivot, and chain area before the main wash. Allow 2–3 minutes of dwell time. These areas have oil and grease contamination that water-based shampoo alone doesn't cut effectively.
Step 3: Soap Wash
Use Bahama Graphene Wash & Coat with a soft brush on body panels and a stiffer brush on tires and wheel spokes. Work panel by panel. Avoid scrubbing graphics edges with a stiff brush.
Step 4: Rinse
Rinse completely, paying special attention to soap residue in spoke channels, frame tubes, and under fenders. Soap residue left to dry in enclosed areas contributes to corrosion.
Step 5: Dry
Air dry or use a leaf blower to clear water from enclosed areas. Dry plastic panels with a clean microfiber to prevent water spots on any polished or clear-coated surfaces.

Ceramic Simple Finish
Seal your freshly cleaned bike with a ceramic barrier that repels mud, UV rays, and trail dust, keeping your plastics looking fresh ride after ride.
Post-Wash Maintenance
After the bike dries:
- Apply Bahama Detail Spray to plastic body panels for UV protection and a consistent appearance
- Re-lubricate the chain immediately, washing removes chain lubricant
- Check and lubricate cable ends, lever pivots, and any pivot point that water contacted
- Inspect graphics edges and press down any lifting corners before they catch on gear or debris
Frequently Asked Questions
Can I use a pressure washer on my dirt bike?
Yes, with limitations. Keep the nozzle 30+ cm from graphics seam edges, wheel bearings, steering head bearings, and electrical connectors. Pressure washing bearing areas forces water through seals and causes premature bearing failure.
How do I prevent dirt bike plastic from fading?
UV is the primary cause of plastic fading. Apply Bahama Detail Spray or a dedicated UV protectant to plastic panels after every wash. Consistent UV protection maintenance prevents the chalky gray fade that develops on unprotected polypropylene.
Is Bahama Graphene Wash & Coat safe for dirt bike graphics?
Yes. Bahama Graphene Wash & Coat is pH-neutral and safe for adhesive vinyl graphics. Avoid high-pressure spray at graphic seam edges regardless of product used.
A Clean Bike Is a Maintained Bike
The post-ride wash routine is also a maintenance inspection. You find cable issues, bearing play, and developing problems when the bike is clean and you're looking at it. Bahama's care system makes the process fast enough to do consistently after every ride.

Foam Blaster Solution Kit
Everything you need to wash, protect, and finish your dirt bike in one complete kit.
$50.00
Shop the Bundle