Enduro and trail bikes get used hard: long days, water crossings, roots, rocks and mud that packs into every gap. Maintenance detailing is what keeps a bike race-ready between rides, because a clean bike is a bike you can actually inspect.
The routine is simple. Wash it soon after the ride, dry it properly, lube what needs lube, restore the plastics and graphics, protect the few painted parts, and check everything while it is clean. Here is how to do it fast and do it right.
Why Does Detailing Matter for Enduro and Trail Bikes?
Mud holds water against bearings, linkages, spokes and the chain. Left overnight, it keeps working on metal and seals. Dried mud also hides cracked plastics, loose spokes, leaking fork seals and worn brake pads.
A post-ride detail solves both problems. It removes what causes wear, and it puts your eyes on every part of the bike before the next ride. Racers call it maintenance. It just happens to make the bike look good too.
What Should You Do Right After a Ride?
- Wash the same day if you can. Wet mud rinses off. Baked mud has to be scrubbed off, which is how plastics and graphics get scratched.
- Plug the openings. Use an airbox wash cover or plug and cover the exhaust outlet before water goes anywhere near them.
- Knock off the big clumps. Scrape packed mud from the skid plate, fender undersides and swingarm before washing so you are not blasting it around.
How to Wash an Enduro Bike Without Damage
Rinse first, carefully
A pressure washer is fine on plastics, tires and the frame, but keep it away from wheel bearings, the swingarm and linkage pivots, fork and shock seals, the airbox and electrical connectors. Water forced past seals is the kind of damage you find later.
Foam and agitate
Cover the bike in Ceramic Mega Foaming Soap through a foam cannon or from a bucket with a Grit Guard Bucket. It is pH neutral, safe on plastic, graphics, anodized parts and aluminum, and it leaves a beading ceramic layer with SunShield UV behind that helps the next round of mud release.
Use a soft brush on plastics and graphics, and a stiffer brush on tires, the skid plate and the engine cases. A chain-specific degreaser on the chain and sprockets is fine; keep it off the plastics and brake rotors.
Rinse top to bottom
Rinse the soap and loosened grime downward and off the bike. For more on safe wash products, see our guide to the best dirt bike wash.

Thick cannon foam that lifts road film, mud and bug guts, then leaves a beading ceramic layer behind. pH-neutral, so it is safe on any coating.
How Do You Dry a Dirt Bike Properly?
Drying is where rust and water spots are either stopped or started. Blow water out of the chain, sprockets, the radiator fins and around the airbox with compressed air or a blower if you have one.
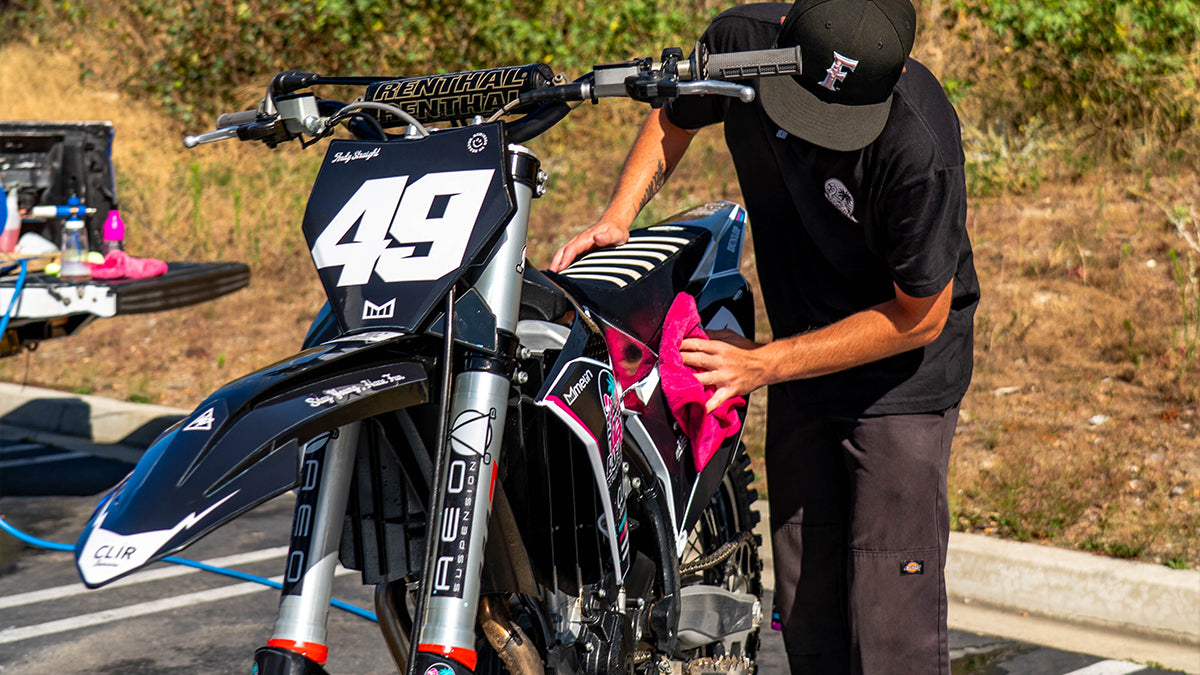
Then blot the plastics, number plates, frame and seat with a Lil' Bird. At 18x18 and 1600 GSM it is sized for bikes and holds up to 8x its weight in water. Blot rather than drag. Water spots are made in the drying, not in the wash.
Start the bike and let it warm up briefly to drive moisture out of the engine and exhaust, then lube the chain while it is still clean and warm.

Glass, mirrors, door jambs and every spot the big towel is too much for. Same 1600 GSM pile, seamless edge.
How to Restore Plastics and Graphics Between Rides
Plastics and graphics take roost, brush and sun. Ceramic Simple Finish brings faded plastic back to like-new and protects it with SunShield UV. It also works on vinyl graphics, rubber boots, hubs and rims. Spray, wipe, walk away. No sling.
Spray it onto a Finish Line towel and wipe the shrouds, side panels, fenders and number plates. Finish Line is dual-sided: the short nap lifts what the wash left behind, the plush side wipes clean.
Keep it off anything you grip or brake with. That means no product on the seat, grips, footpegs, tire tread or brake rotors. Press down lifting graphic edges while you work. For long-term care, read how to protect dirt bike plastics and graphics.

Faded plastic, trim, rubber and tires back to like-new, then protected. Just as good on matte, satin, PPF and vinyl wrap.
How Do You Protect the Frame and Painted Parts?
Many enduro bikes have a painted or powder-coated frame and a few other gloss parts. Those get Ceramic Final Touch Detail Spray.
- Protect. Spray onto the towel, wipe the frame smooth into a consistent layer, and let it dry 5 minutes.
- Finish. Buff with a dry Victory Lap. Never buff Final Touch with the Birds.
Final Touch is ultra hydrophobic, so mud and water have a harder time sticking to the frame on the next ride. Keep it dry for about 24 hours after a full coat so it cures.
For exhaust and bare metal, see our guide to dirt bike exhaust and metal care.
The Race-Ready Checklist While the Bike Is Clean
This is the part that makes detailing worth it. With the bike clean and dry, run through:
- Chain and sprockets: lube, tension, and look for hooked teeth.
- Spokes and wheel bearings: check spoke tension and feel for play in the wheels.
- Fork and shock seals: wipe the stanchions and look for oil weeping.
- Brakes: pad thickness, rotor condition, lines and fluid level.
- Air filter: clean or swap it, especially after dusty or wet days.
- Bolts and plastics: check fasteners, look for cracks, and check the radiator guards.
- Controls: levers, cables and throttle return.
Your Between-Rides Routine in Order
Every bottle has a towel built for it.
- Wash: Ceramic Mega Foaming Soap, soft brush, gentle rinse around seals.
- Dry: air out the tight spots, then blot with Lil' Bird. Lube the chain.
- Restore: Ceramic Simple Finish with Finish Line on plastics, graphics, rubber and hubs.
- Protect: Ceramic Final Touch on the painted frame and gloss parts. Dry 5 minutes.
- Finish: buff with a dry Victory Lap, then run the checklist.
For the complete process, see how to detail a dirt bike. The Full System Set covers all four bottles in one box.
Frequently Asked Questions
How often should I wash an enduro bike?
After every muddy or wet ride, ideally the same day. Dusty rides still deserve a wash and an air filter check.
Is it safe to pressure wash a dirt bike?
Yes, with care. Keep the jet off bearings, pivots, seals, the airbox and electrical connectors, and plug the airbox and exhaust first.
What should I put on dirt bike plastics after washing?
Simple Finish on a Finish Line towel. It restores faded plastic, protects with SunShield UV and leaves no sling.
Should I use dressing on the seat or grips?
No. Keep the seat, grips, pegs, tread and brake rotors free of any dressing so nothing gets slippery.
The Bottom Line
A clean bike is a bike you can trust. Wash it soon, dry it right, restore the plastics, protect the frame and check everything while you are there. Wash. Restore. Protect. One towel per job. Zero cross-contamination, and the Premium Towel Set covers every job.

Wash, interior, restore and protect: all four Bahama ceramic bottles in one set. A pro ceramic coating is $1k+. This system only takes a couple hours.

Drying, interior, wheels and trim, and buffing the Final Touch coating, each with its own towel. No wheel grime on the dash, no drying towel soaking up your coating.