You get home from the track, the bike is caked in mud, and the fastest fix is a pressure washer and whatever degreaser is on the shelf. That is exactly how plastics go chalky and graphics start lifting at the corners.
The best dirt bike wash is a pH neutral soap with real foam, a soft touch, and a dry that does not drag grit across your decals. Here is how to clean a dirt bike without damaging plastic or graphics, and how to leave it protected so the next wash is easier.
What Damages Dirt Bike Plastic and Graphics During a Wash?
Most damage does not come from the mud. It comes from what you do to get the mud off.
- Harsh degreasers and strong alkaline cleaners. They cut grime fast, but they also dry out plastic and attack the adhesive at the edges of your graphics.
- Pressure washer nozzles held too close. A tight jet aimed at a decal edge will peel it. Aimed at a seal or bearing, it pushes water where it should not go.
- Scrubbing dry dirt. Dirt is abrasive. Rubbing it across plastic with a stiff brush or rag leaves fine scratches that dull the finish.
- The wrong towel. Most swirl marks are put there by a towel. A grimy shop rag on fresh graphics does more harm than the trail did.
Fix those four habits and your plastics will look better for longer, with no special tricks.
What to Look for in a Dirt Bike Wash
You want a soap that does the heavy lifting so you can keep your hands light.
pH neutral chemistry
A pH neutral soap cleans without stripping plastic, rubber or decal adhesive. It is also safe on any coating or protection you have already put down, so you are not undoing last week's work.
Thick, clinging foam
Foam that sits on the bike gives the soap time to soften mud and road film. Dirt releases on the rinse instead of under a brush.
Protection left behind
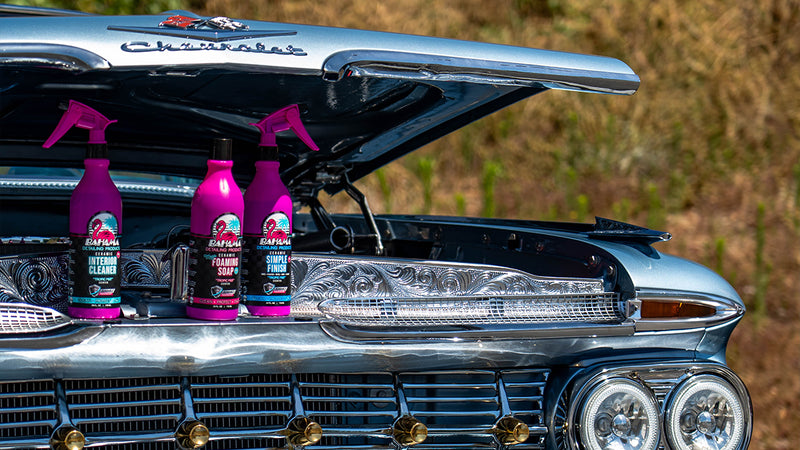
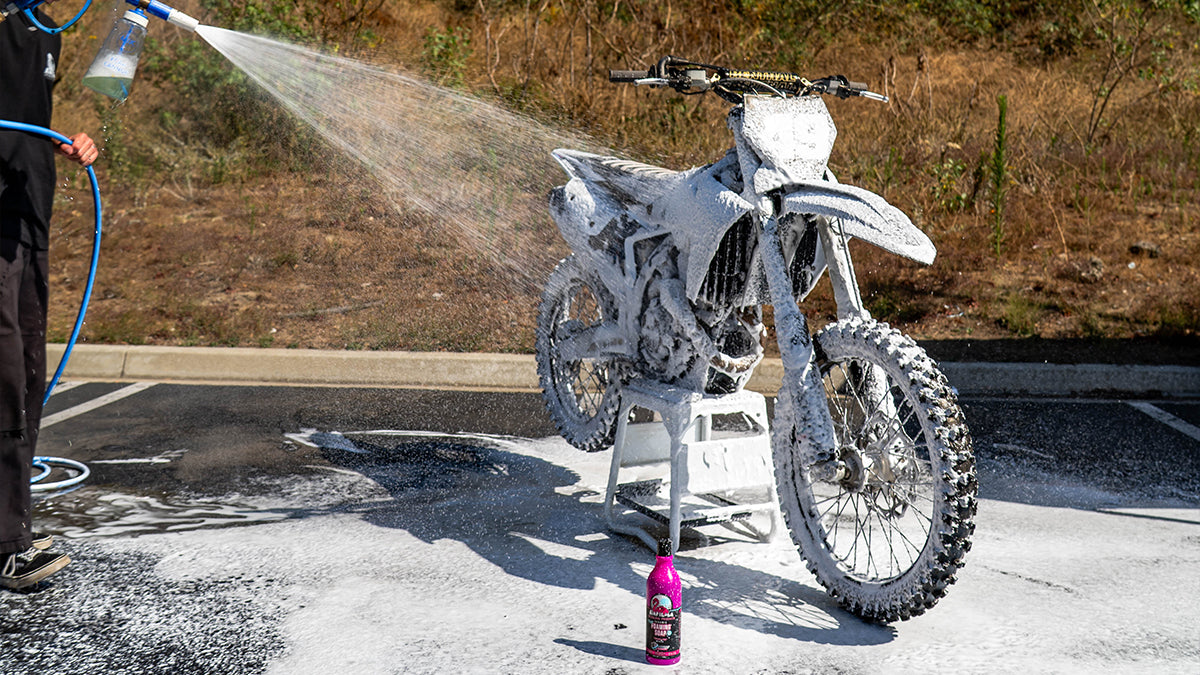
A plain soap only cleans. Ceramic Mega Foaming Soap lifts mud and grime and leaves a beading ceramic layer with SunShield UV, so every wash adds a little protection to plastics and graphics instead of leaving them bare.

Thick cannon foam that lifts road film, mud and bug guts, then leaves a beading ceramic layer behind. pH-neutral, so it is safe on any coating.
How to Wash a Dirt Bike Without Damaging Plastic or Graphics
This is the full routine in the Bahama order: Wash, Dry, Restore, Protect, Finish. Work in the shade if you can, and let a hot engine and exhaust cool before you start.
- Prep the bike. Plug the exhaust, cover the airbox intake, and keep water away from the air filter. Remove the seat if you want to clean underneath it properly.
- Rinse from a distance. Knock off loose mud with a wide fan pattern, keeping the nozzle well back from graphics, seals, bearings and electrical connectors. Rinse from the top down.
- Wash: foam and soak. Cover the bike in Ceramic Mega Foaming Soap through a foam cannon, or mix it in a Grit Guard Bucket so the grit you rinse off your mitt stays at the bottom and off your plastics. Let it dwell while you prep your brushes.
- Agitate gently. Use a soft wash mitt on plastics and graphics, moving in straight lines along decal edges, never against them. Save stiffer brushes for tires, the chain area and the frame underside.
- Rinse again. Same rules: wide fan, keep your distance, top to bottom.
- Dry. Blot the plastics and tank with a Lil' Bird. It is sized for bikes and holds a lot of water, so you can blot instead of dragging across graphics. On a big adventure bike or trailer day, a Big Bird handles the larger panels. Water spots are made in the drying, not in the wash.
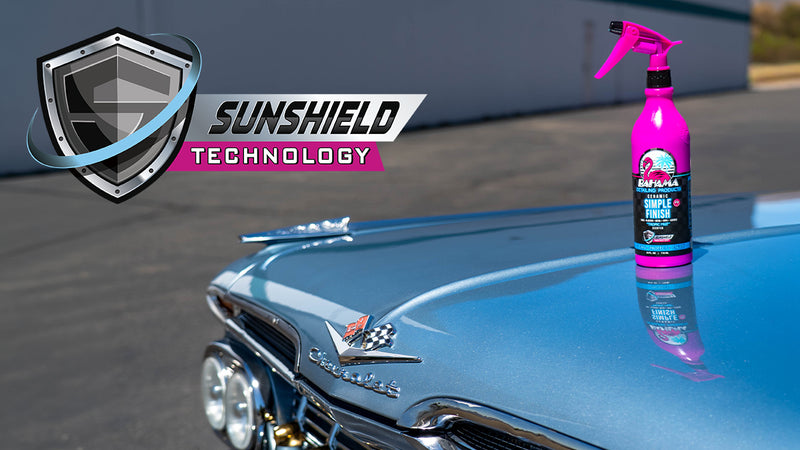
- Restore. Spray Ceramic Simple Finish onto a Finish Line towel and wipe plastics, graphics, seat cover, rubber, tires and metal. Faded plastic comes back to a clean, like new look, with SunShield UV laid down in the same pass. Spray, wipe, walk away.
- Protect. If your bike has painted bodywork, a painted frame or chrome, mist Ceramic Final Touch Detail Spray on, wipe it smooth into an even layer and let it dry for 5 minutes.
- Finish. Buff that Final Touch layer with a dry Victory Lap. Never use the Birds for this step; they are built to absorb, and they will drink the coating off the panel.
Remove the exhaust plug and airbox cover, start the bike and let it run briefly to drive off leftover moisture. Then lube the chain.

Faded plastic, trim, rubber and tires back to like-new, then protected. Just as good on matte, satin, PPF and vinyl wrap.
Why the Towel Matters as Much as the Soap
The liquid does half the work. The towel decides whether it comes off streaked or slick.
A dirt bike asks a lot of a towel: mud, chain grime, brake dust and tire residue all in one session. If one towel does all of that, it drags that grit across your graphics on the next wipe. One towel per job. Zero cross-contamination.
- Lil' Bird: drying plastics, tank and graphics after the wash.
- Finish Line: the dirty work with Simple Finish on plastics, tires, rubber and metal. Its dual-sided build lets the short nap lift grime while the plush side wipes clean.
- Victory Lap: buffing Final Touch on painted parts and chrome only.
Keep the towels separated in the wash bin too. A towel that has been through tire residue and chain grime has no business on your graphics.

Wheels, tires and trim. Dual-sided: a short nap to lift grime and a plush side to wipe it clean, so your finishing towels never do the dirty work.
How Do You Keep Graphics From Peeling?
Graphics usually fail at the edges first. Water, dirt and harsh cleaners get under a lifted corner, and every wash pushes it further.
- Never aim a pressure washer jet straight at a decal edge.
- Wipe along edges, not into them, both when washing and when applying Simple Finish.
- Skip solvent-heavy degreasers on graphics. Use them only on the parts that need them, like the chain area, and keep them off decals.
- Keep graphics protected. A UV-shielded surface fades more slowly, and a slick surface lets mud release on the next rinse.
For the full rundown on fading and cracking, read our guide on how to protect dirt bike plastics and graphics.
How Often Should You Wash a Dirt Bike?
Wash after every muddy ride, ideally the same day. Mud that dries on plastic is harder to remove, and harder removal means more scrubbing and more risk of scratches.
After dusty, dry rides, a lighter wash and a quick Simple Finish pass on plastics keeps things fresh. Because the soap and Simple Finish both leave a hydrophobic layer behind, each wash gets a little easier: mud has less to grab onto.
If you race or ride enduro, our guide to keeping a trail bike race-ready between rides has a quicker between-event routine. For the full top to bottom job, see how to detail a dirt bike.
Common Dirt Bike Washing Mistakes
- Washing a hot bike. Soap dries on hot metal and plastic and leaves spots. Let it cool.
- Dish soap. It is made to strip grease, and it strips protection with it.
- Letting it air dry. Tap water minerals dry into spots on plastic, graphics and paint. Dry it.
- Skipping protection. A bare plastic surface gives mud something to bite and the sun something to fade.
- Forgetting the chain. Water and soap remove lube. Re-lube after every wash.
Frequently Asked Questions
Can I pressure wash my dirt bike?
Yes, carefully. Use a wide fan pattern, keep the nozzle well back, and never aim directly at graphics edges, bearings, seals, the airbox or electrical connectors.
Is car wash soap safe for dirt bike plastics?
A pH neutral car soap is. Ceramic Mega Foaming Soap is pH neutral and safe on plastic, graphics, rubber and painted parts, and it leaves a ceramic, UV-shielded layer behind.
What should I use on faded dirt bike plastics?
Ceramic Simple Finish with a Finish Line towel. Spray, wipe, and faded plastic comes back to a like-new look with SunShield UV protection built in.
How do I dry a dirt bike without water spots?
Blot it with a Lil' Bird drying towel right after the final rinse, working top down. Water spots are made in the drying, not in the wash.
Should I use a degreaser on my dirt bike?
Only where it is needed, such as the chain, sprockets and lower engine. Keep it off plastics and graphics and rinse it fully before you wash the rest of the bike.
The Bottom Line
The best dirt bike wash is gentle chemistry, a light hand and the right towel at every step. Wash. Restore. Protect. Every bottle has a towel built for it, and the Premium Towel Set puts all of them in your garage so your graphics never meet a dirty rag again.

Wash, interior, restore and protect: all four Bahama ceramic bottles in one set. A pro ceramic coating is $1k+. This system only takes a couple hours.

Drying, interior, wheels and trim, and buffing the Final Touch coating, each with its own towel. No wheel grime on the dash, no drying towel soaking up your coating.